Unlike driving a car, riding a bicycle or even a motorbike leaves you out in the open, and therefore exposed to the elements. This means that there’s much in the way of physical barriers that serve as protection in the case of unwanted accidents.
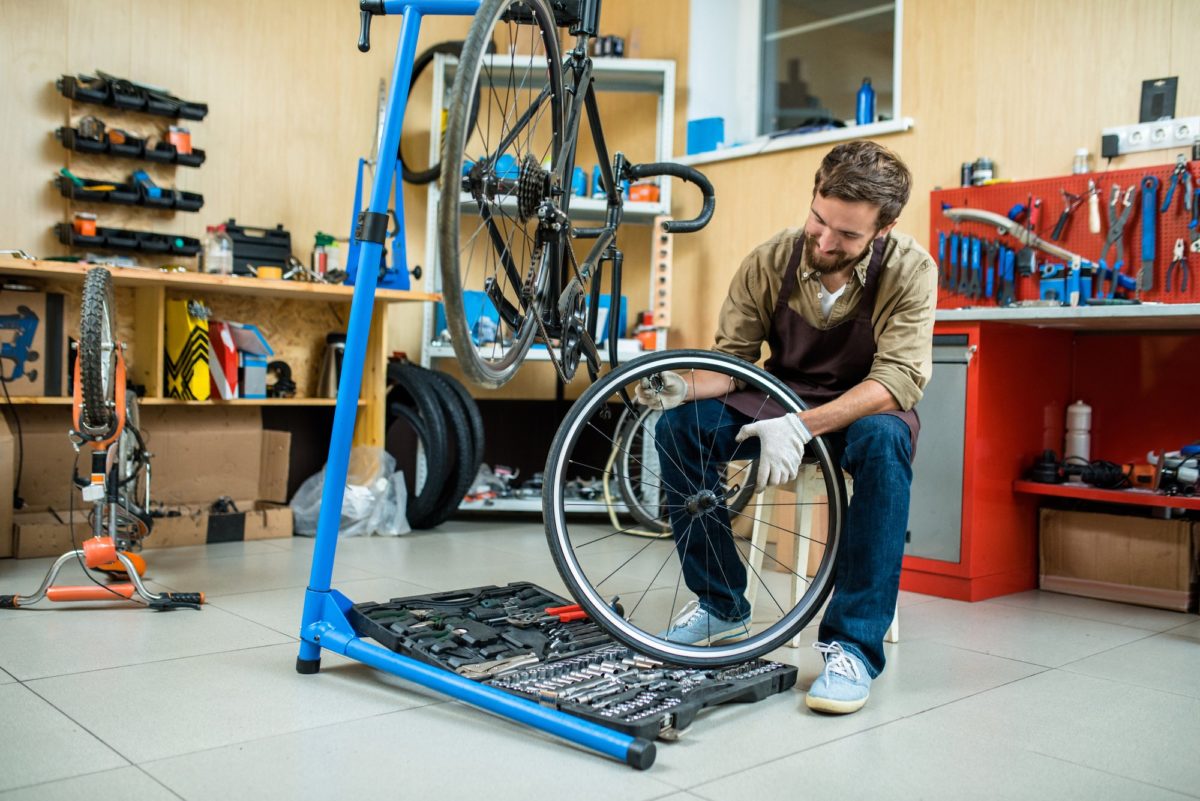
Do you want to take maintaining and taking care of your bike more seriously, but without the added hassle? Do you want to make things more convenient by freeing up both hands to work on your precious bicycle?
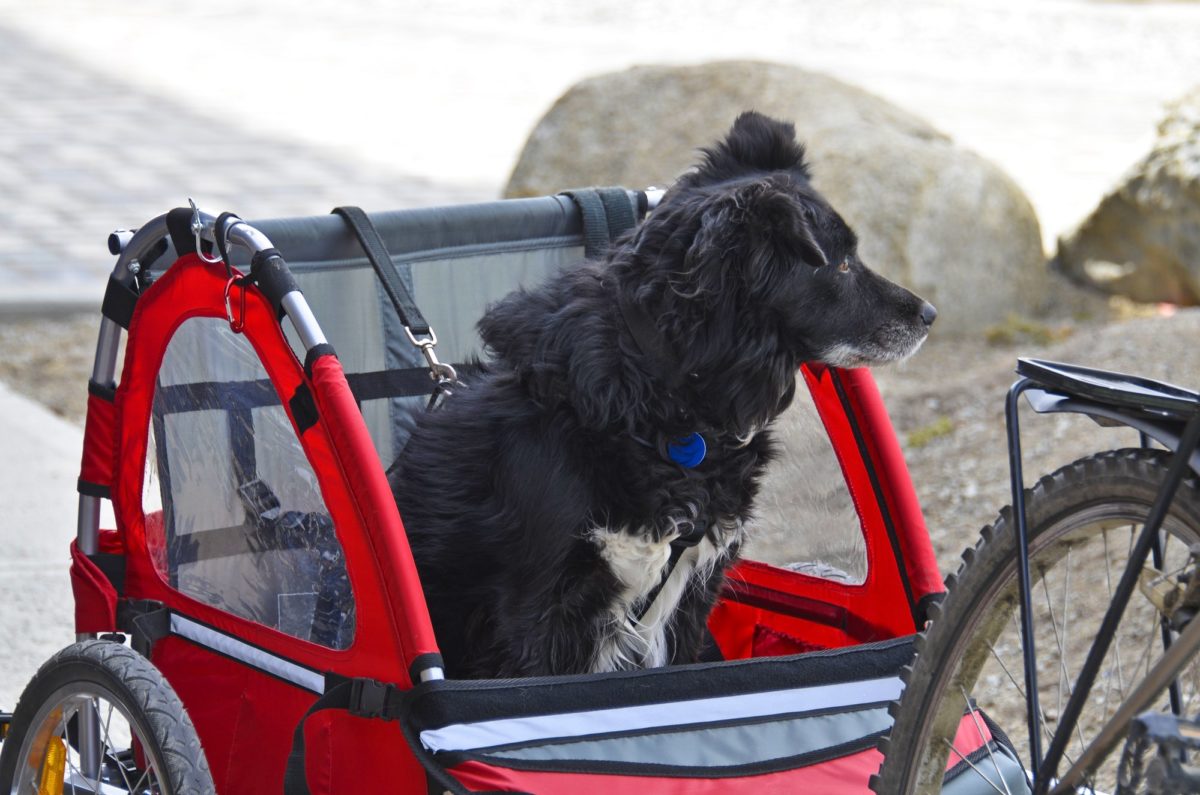
A fun and quality way to spend your time shouldn’t have to be a choice between you playing with your puppy, and you exploring the world. If you are creative enough, there is a sure way that you can do both.
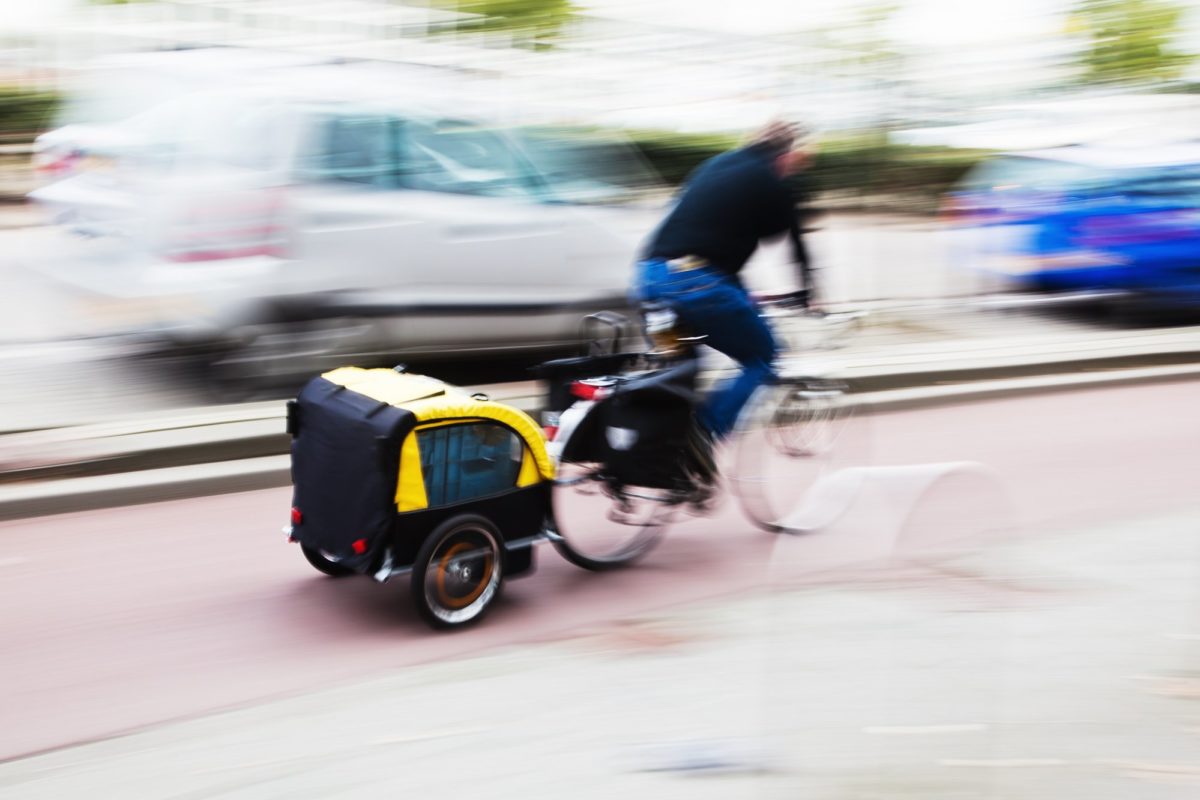
Are you an avid cyclist who is in need for some extra storage space to help you carry heavy items with ease while you ride around town and beyond? We’ve got the perfect solution!
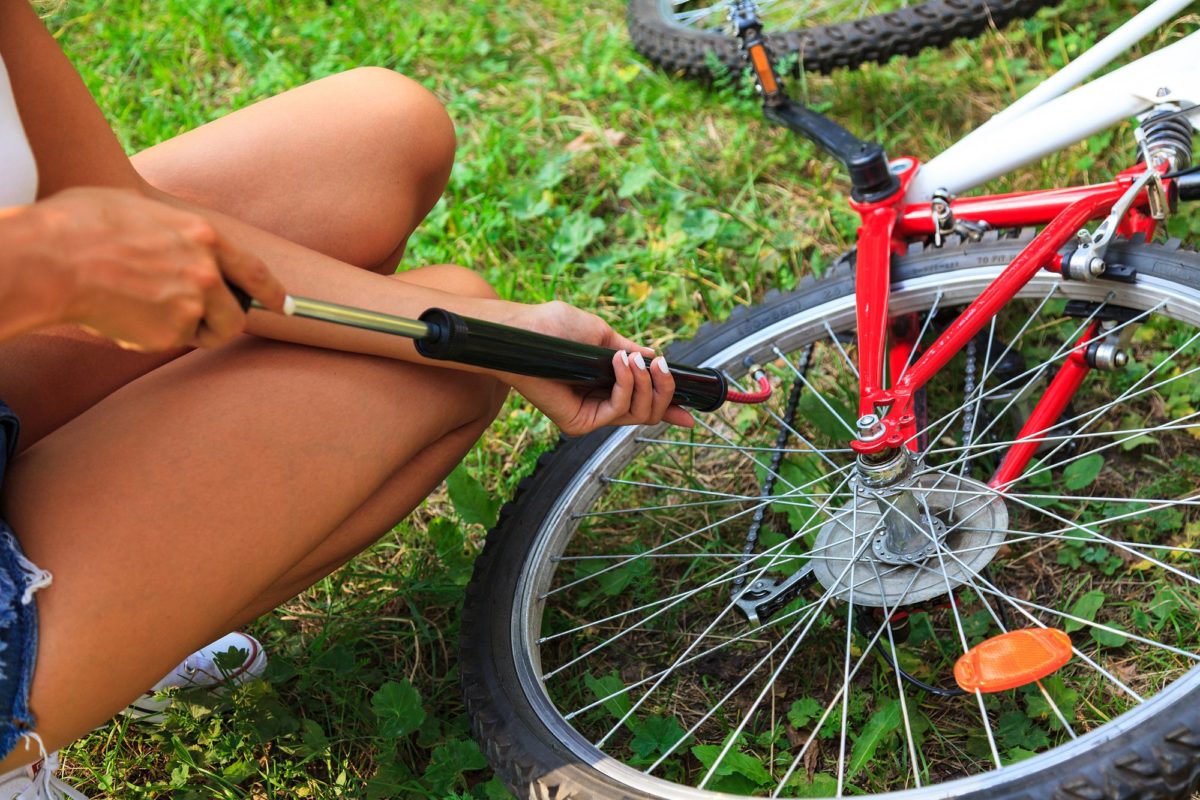
Each and every bicycle owner deals with an unfortunate flat tire every now and then, so it just goes to say that you should know how to pump a bike tire, so you can easily remedy this situation whenever it arises.
A tire might also deflate faster when you carry too much stuff. Make sure not to put too much weight on one tire by using one of the best bike cargo trailers out there.
To help you out, we have provided a detailed step by step guide on how to pump a bike tire, complete with everything you need to know about tire valves and bike pumps!
Know your tire valve type
The first thing you should do is identify what type of valve your tire has, since this will determine how you can connect the tire to the pump. Here are the most common valve types:
Presta valve
One of the most common valve types you’ll encounter are Presta (French) valves. High end bicycles typically feature these high pressure valves, which are narrow and have a removable lock ring that closes the valve at the top.
Schrader valve
Another common valve type is the Schrader valve, which is usually found on recreational kids bikes, as well as car tires. These are wider, have a round opening, and feature a spring mechanism that opens and closes the air passage.
Woods valve
For a number of countries in Europe and Asia, you’ll find Woods or Dunlop valves, which feature a wider base than a Presta, but are the same size as a Schrader. These valves can be inflated with both a Schader or Presta valve adapter.
Tubeless bike tire
Finally, there are tubeless bike tires, which are tires that don’t have an inner tube, requiring a layer of casing or sealant to keep the air inside the tire. These tires usually feature conventional clinchers or tubulars.
Get the right bike pump type
The next step is to get the right type of bike air pump for your tire. Here are some of the most common pump types you’ll find, and the difference of each one:
Floor pump
First off, a floor pump, also called a stack or track pump, is a standard pump that every bike owner should have in his garage, especially since it can quickly and easily inflate your tire with high pressure air. Your best bet is the Bontrager bike pump, since it’s durable, reliable, stable, and always ready to use.
Hand pump
On the other hand, it’s also great to have a hand pump to bring along everywhere. These mini portable pumps are great for the accidental flat tire on the road. A great option is the Lezyne pump, which is lightweight, portable, and works for both Presta and Schrader valves.
Specialized bike pump
Of course, if you want a multi-functional pump that’s great for a variety of uses, you will benefit from a specialized bike pump, like a stand pump, electric pump, or CO2 inflator. What’s important here is to carefully read and follow the manual on how to use it, since mistakes can be costly and dangerous.
Remove the valve cap
If you have a generic pump that can’t fit securely on your valve, you can always just opt for a bike pump adapter, which typically features multiple connections to accommodate Presta and Schrader valves, and more.
Once you know your valve and have the pump ready, it’s time to remove the valve cap (or dust cap if you have a Presta valve), then connect the pump head to the valve, either by screwing it on, or pushing and locking it in place. You’ll know it’s attached correctly when you don’t hear any air escaping from the valve.
Look up the correct tire pressure
Before you air up your tire, it’s important to check what’s the recommended air pressure for your tire. You can easily find this imprinted on the side of the tire. If you can’t find it or it’s too worn out, just look up your tire manufacturer online. Then again, if your tire is worn out, perhaps it’s best to just replace it altogether.
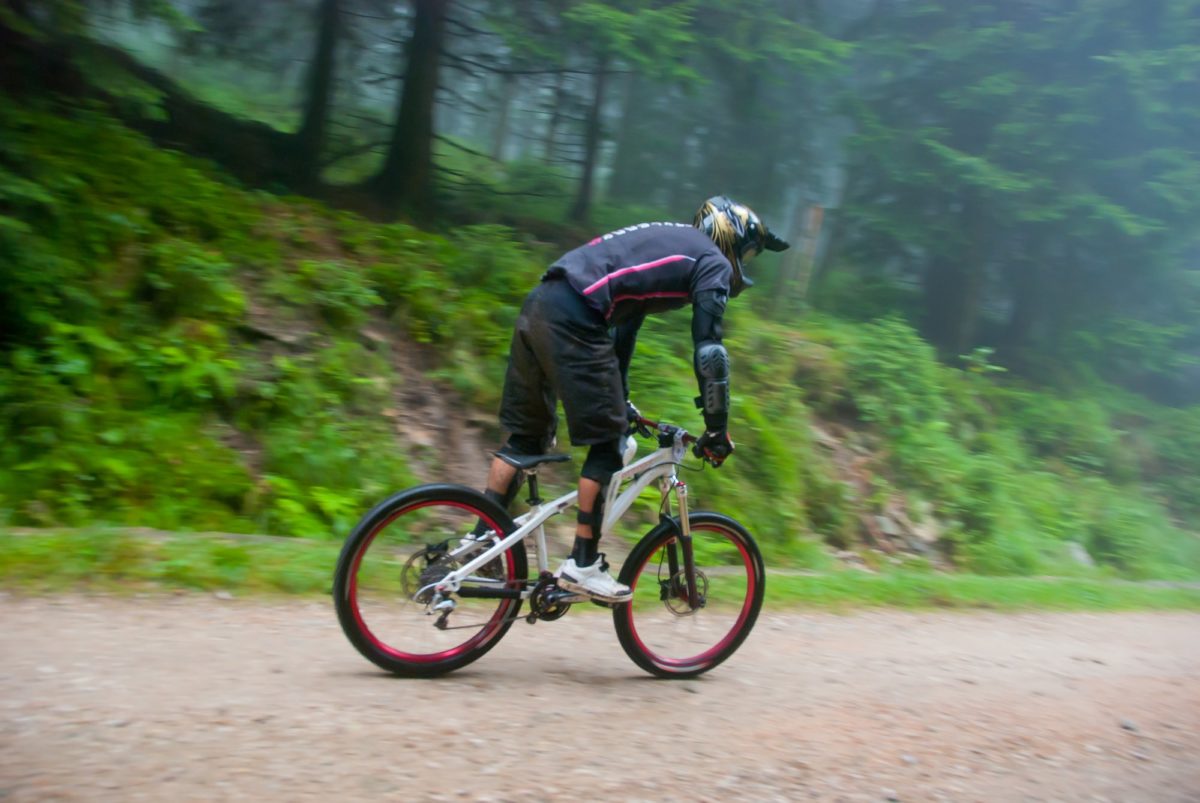
Some bikes, like those that are protected with a fat bike fender, need air than others. Here’s a quick reference for you: if you have a mountain bike, expect 25 to 45 psi, or 40 to 80 psi for a hybrid, and 80 to 120 psi for a road bike.
Don’t go above or below the indicated pressure, or the tire will either feel flat and spongy, rough and lacking in traction, or may even explode from too much pressure. The right tire pressure is especially important for off-road adventures. Make sure you stay safe and protect yourself with one of the best MTB knee pads.
Inflate the tire
Making sure that no air escapes from the air nozzle, and the bike pump needle is securely attached to the valve of the tire, gently but firmly inflate the tire until you fill it with the right air pressure. Remember, fill it up to the correct tire pressure only!
The best and easiest way to do it may vary depending on what type of pump you’re using, but the general rule is to use your upper body and core strength to pump effectively. The right position is essential in delivering complete and consistent pumps throughout.
To the next adventure
Finally, remove the pump head quickly, making sure not to bend or damage the tire valve. Then, put everything back into place, including the lock ring (for a Presta valve) and the valve cap. You can try pinching and bouncing the tire a couple of times, just to make sure it’s adequately inflated.
Then, go ride on your merry way! Just make sure to ride safely and carefully, and avoid paths with lots of pointy rocks and sharp objects that can puncture your tire. After all, airing up your tire only works if it’s not peppered with holes and tears, right?
That’s it! When it comes to how to pump a bike tire, it really is quick and easy, so you have no reason not to do it yourself. Just follow these simple steps, and you’re good to go! And if you have any questions, feel free to write them down below!
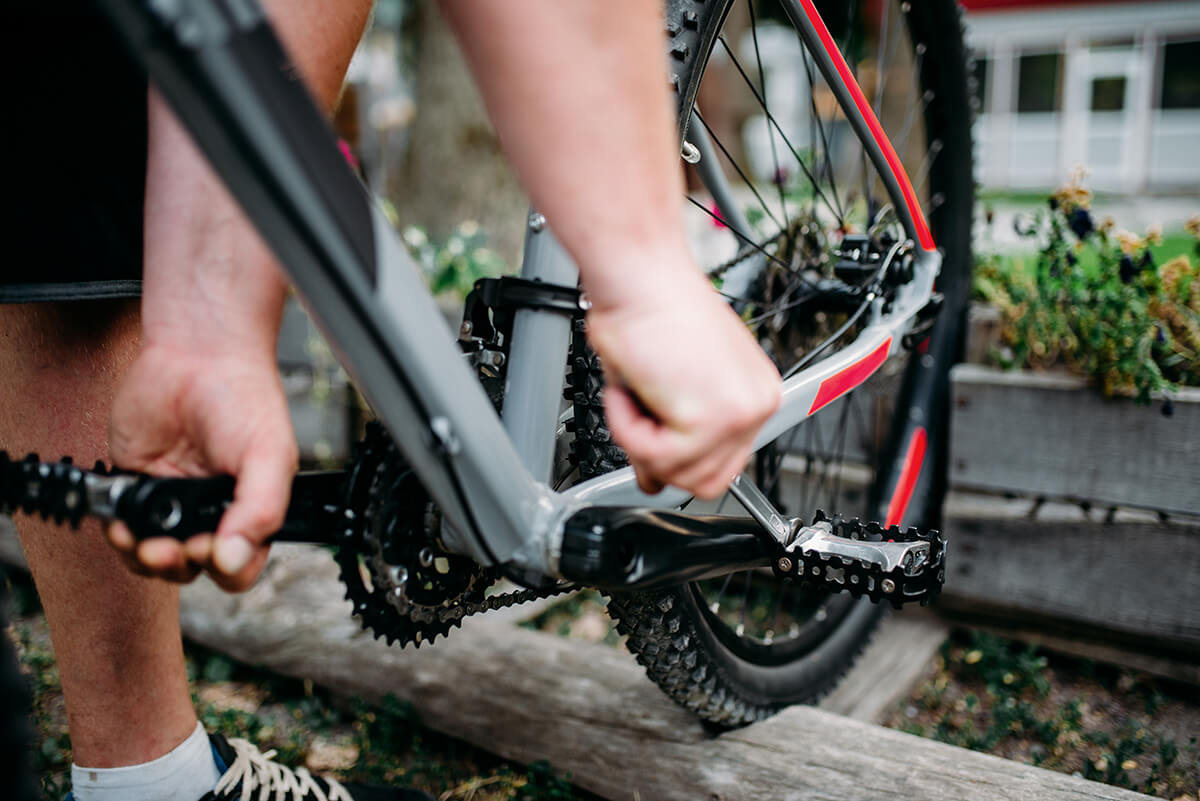
Are your bike pedals loose and worn out? Then they most likely need replacing. The good thing is, changing your bike pedals is simple. In this article, we’ll guide you through the steps on how to take off bike pedals in 6 easy steps.
To make things easier, we have divided this guide into two parts – removing old bike pedals, and installing new ones. But first, let’s see what tools you’ll need for the job:
The right tools
Pedal wrench – this is a type of spanner wrench that works for pedals with flats. If this sounds like your bike pedals, you’ll need a 15mm pedal wrench to remove them.
Allen-key wrench – this is a type of spanner wrench that works for pedals with sockets. If this sounds like your bike pedals, you’ll need a 6mm socket wrench to remove them.
Grease – this is used to reduce friction between hard, movable parts to enable better mobility and performance.
Important note: Find the right
direction!
Unless you want to spend your precious time
unsuccessfully removing your bike pedals and getting frustrated in the process
(not to mention probably breaking the bike pedals), it’s important that you
understand the correct removal direction of your bike pedals.
The thing is, the right and left-hand pedal have opposite threads. While the right pedal has a normal right-hand thread, the left pedal actually has a left-hand thread so it doesn’t come loose and fall off whenever you use your bike.
This means, in order for you to remove the
pedals, you need to rotate the left pedal CLOCKWISE to loosen it.
How to take off bike pedals
Before you can change your bike pedals, the first part has to do with removing the old ones. Now, let’s review the basics: The flats are located in between the pedal arm and the clank, while the sockets are at the end of the axle connecting the pedal arm and clank.
This involves three simple steps, but you
might have a hard time if the spindle feels stuck. Don’t force it, instead,
apply a little grease to make it slick and easy to remove.
Step 1: Rotate crank
First, prop your bike up to a steady position, with the right side facing you. For easier access, put your bike on a bike repair stand., rotate the pedal crank until the pedal is at the top to see what kind of wrench you’ll need. Place the wrench on the right pedal in such a way that it securely grips the spindle flats or sockets.
Step 2: Loosen spindle
Hold your wrench with one hand and the left
pedal with the other, and rotate the wrench (counter-clockwise if you’re using
a pedal wrench, or clockwise if you’re using an allen-key wrench) to loosen the
spindle. The pedal should easily unscrew from the crank.
Step 3: Repeat on the other side
Move on to the left pedal, repeating the same
process, only this time rotating the wrench in the opposite direction. This
means clockwise for a pedal wrench, and counter-clockwise for an allen-key
wrench. Set aside the removed pedals.
How to install bike pedals
It’s important that you do this part carefully
and correctly, so your new bike pedals can do their job properly, and so you
won’t have a hard time taking them off in the future, once they need to be
replaced once more.
Moreover, make sure to check which pedal goes
where. They should either be marked with “L” and “R” or curve up to either the
left or right side.
Step 4: Apply bike grease
Bike grease does three things: they prevent
seizing, they help you pedal smoothly, and they help you remove the pedals
easily. Apply enough grease on the spindle threads until it’s fully covered
with a thin coat.
Step 5: Tighten pedal
Insert the new pedal onto the spindle and
rotate it a couple of times by hand before using your wrench. This time, it’s
clockwise for the right pedal, and counter-clockwise for the left pedal when
you’re using a pedal wrench. Do this step for both right and left pedals.
Step 6: Check manufacturer’s
torque
To fully secure the pedals in place, tighten
them a bit more after you feel a bit of resistance. How much you need to do so
depends on the manufacturer’s specified torque, but on average, it should be ⅛
of a full rotation.
Conclusion
To sum it up, when it comes to how to take off
bike pedals off a bike, you need a wrench to loosen the old pedals from the
crank, a bit of grease to coat the spindle, and the same wrench to screw the
new pedals back in place.
That’s it! Changing your bike pedals is simple
and easy. Do you have any questions? Let us know in the comments!
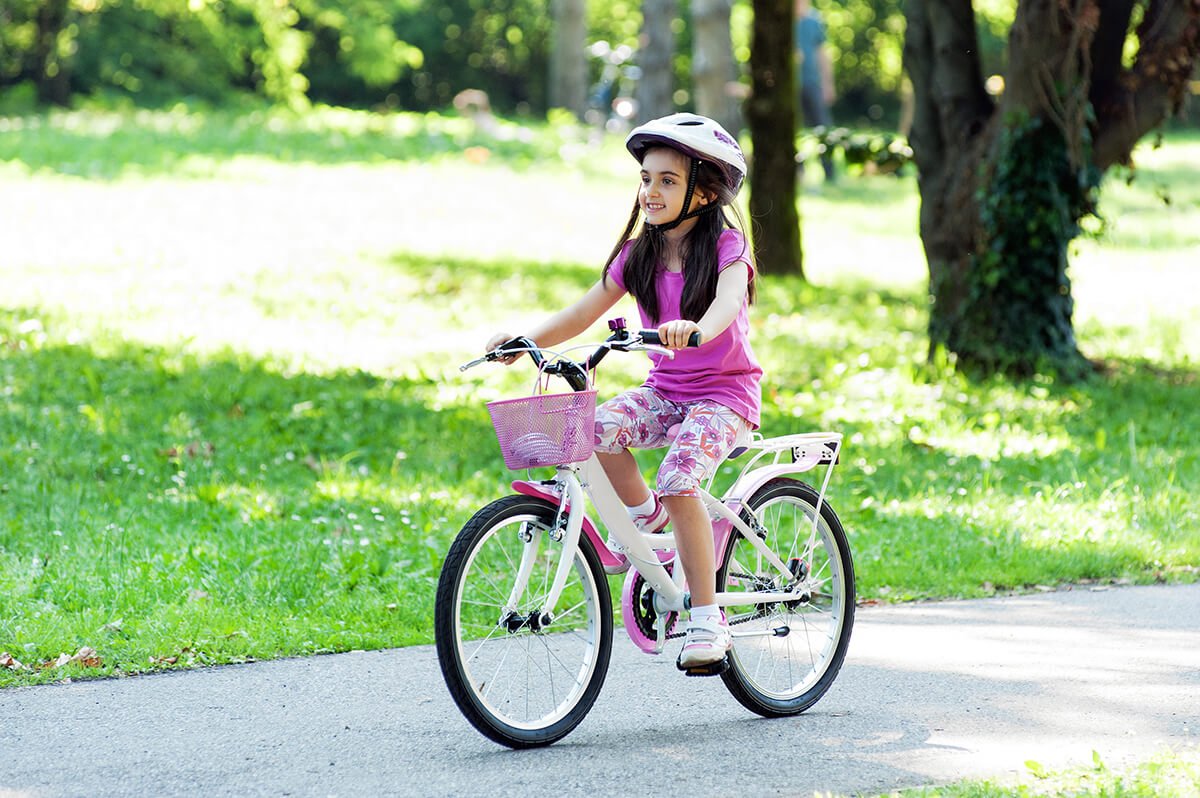
Finding the right bike size for your kid is important, so your child can mount, ride, and dismount the bike as easily and safely as possible. A bike that’s too small will feel cramped, and one too big and your child’s feet won’t even touch the floor.
So, to help you choose the right bike, we’ve provided this comprehensive guide on how to measure a kid’s bike, including some helpful tips and tricks for you!
Types of Bikes
There are many different types of bicycles for kids, and even more so for adults. When it comes to children’s bikes, you’ll find cute stroller bikes and run bikes for toddlers, mini bikes with training wheels for young children, and 26” wheel bikes for tweens and teens. Essentially, these bicycle types are categorized based on age group and wheel size.
Kids Bike Sizes
Bicycles for children are classified according
to sizes, which are determined by a couple of factors, most commonly being the
wheel size, which is what manufacturers use to measure a kids bike size. If
you’re wondering, “What size bike should I get?”, we’ve prepared a definitive
guide for you:
How to measure a kid’s bike – step by step
If you’ve found (or already have) a bike for
your little one, and want to find out whether it’s the right fit for him/ her,
here’s a quick and easy way on how to size a bike using the bike wheel:
1.
Measure the diameter of the bike
tire
One thing you can do is to measure the outer
diameter of either the front or rear wheel (including the rubber tire) by using
a measuring tape or ruler. Take several measurements to ensure that you’re
getting the correct number.
2.
Check the tire for the size
Better yet, examine the tire and look for the markings indicating its dimensions. The first dimension should be the tire diameter (the second one is the tire thickness). For a more accurate measurement, you may opt to do both steps 1 and 2.
3.
Find the correct bike on the size
chart
The wheel size roughly represents the kids
bike size. Take a look at the size chart below and look for your bike’s wheel
size.
Kids bike size chart
Here is a complete bike size guide so you can
find the perfect bike for your kid:
Bike Type
Run Bike
Training Wheels
Training Wheels
2-Wheel Bike
2-Wheel Bike
Adult Bike
Wheel Size
8 to 12 inches
12 to 14 inches
16 inches
20 inches
24 inches
26 inches
Approx. Age
2 to 3 yrs
2 to 4 yrs
3 to 6 yrs
5 to 9 yrs
8 to 13 yrs
10+ yrs
Child Height
31 ½ to 40 inches
31 ½ to 44 inches
34 ½ to 48 inches
40 to 56 inches
46 to 66 inches
60+ inches
Approx. Inseam
15 to 18 inches
15 to 20 inches
16 to 22 inches
19 to 25 inches
23 to 28 inches
25+ inches
Kids bike sizes by age
As you can see above, we’ve got toddler bike sizes with small 8 to 14-inch wheels. These are mostly run bikes and stroller bikes, meaning, they come with a handlebar for you, and no pedals so your little one can just enjoy moving forward by “walking” while on a bike.
Once your kid is a little bigger and is eager to really ride a bicycle, a 14-inch bike with training wheels is a suitable bike for a 3-year-old, or a 16-inch bike for 5-year-olds.
2-wheel bikes with 20 to 26-inch wheels (or the less common 18-inch bikes) are best for bigger kids, tweens, teenagers, and adults. At this point, your child’s inseam and the bike height becomes important.
Additional bike size factors
As we’ve mentioned earlier, wheel size is not the only factor that affects the size of your child’s bike. So, for a better and more accurate bike fitting, take these other factors into consideration:
Height and inseam
You might be thinking you need to determine the bike frame size. Well, that mostly applies for adult bikes. When it comes to bicycles for the youth group, the height we are referring to is your child’s height, as well as his or her inseam. This is important since most children’s bikes don’t come with adjustable saddles and handlebars.
If you look at the size chart we’ve provided
above, you’ll see how the child height and inseam play into effect.
How to measure the inseam
Your kid’s height alone is not definitive
enough to help you pick the perfect bike size. For one thing, boys and girls of
the same age and height may have different inseam measurements, so a bike that
fits one may not work for the other.
To measure your child’s inseam, grab a thick
book, and have your kid stand firmly on the floor, with feet slightly apart.
Insert the book, spine side up, between his legs, until the spine rests firmly
against his crotch. The distance from the floor to the book spine is his
inseam.
Rider’s experience
How well your little one rides a bicycle is
also important. For example, even if your child is big enough to ride a 20”
bike, if he doesn’t know yet how to balance, then getting a bike with training
wheels may be better and safer. Or, he may be on the smaller side, but already
cycles like a pro. In this respect, factor in your kid’s riding experience when
buying a kids bike.
Consider growth
Of course, you also need to allow some room
for growth. You want your child to be able to use the bike comfortably even
after a couple of years. Getting a bike that’s too small means your kid won’t
be riding it for long. (But then again, don’t get a bike that your kid will
have to wait a year to be able to ride.)
Bike equipment
Bonus facts: here is some must-have bicycle equipment so your kid can ride safely at all times, no matter what:
Reflectors
and lights– while you wouldn’t want a toddler outside
past sunset, older kids tend to love riding around the neighborhood during the
early evenings, hence, reflectors and bright headlights are important.
Chainguard – little kids love to explore, but bike chains shouldn’t be included in their list of playthings. Chain guards should be present on a kids bike to prevent accidents like your kid’s foot getting trapped in the chain, or your kid touching the greasy chain.
Brakes– of course, with any bicycle, strong and fast brakes are important so your kid can stop as needed. So, when purchasing a bike for your little one, make sure that the brakes are good quality as well.
Overview
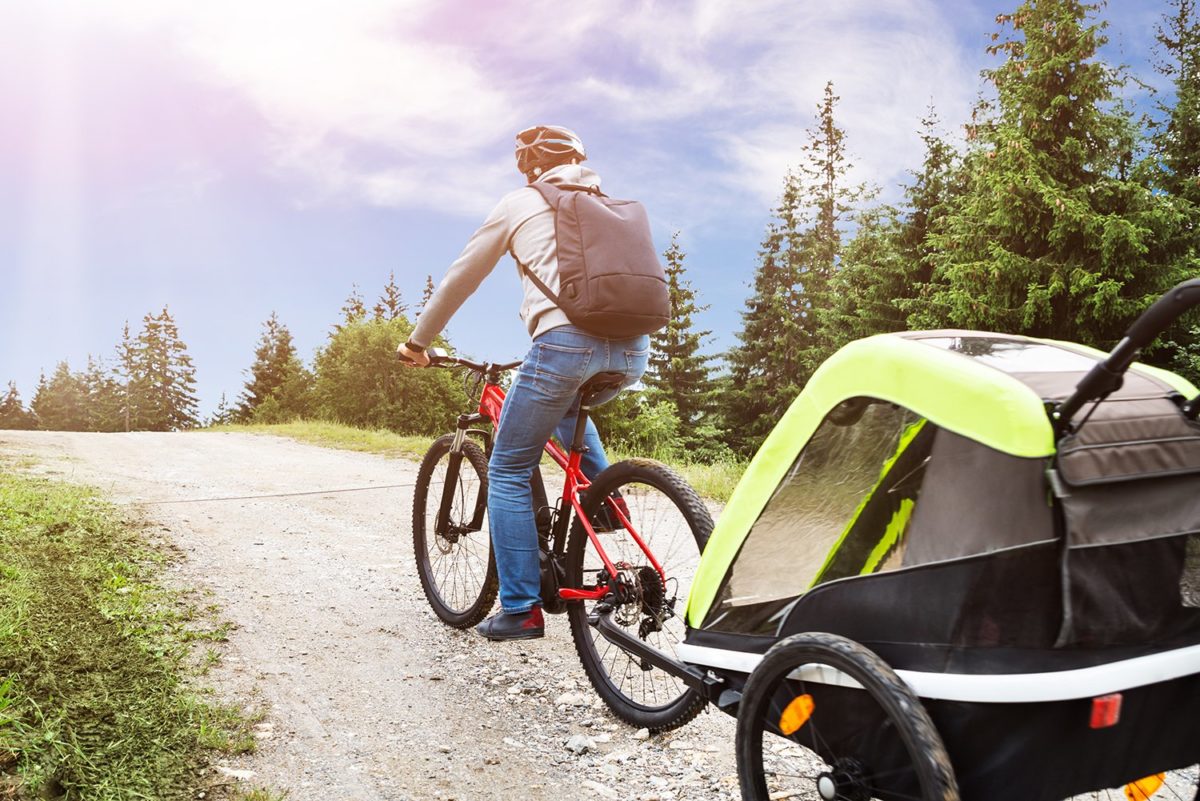
You can easily and confidently choose the right bike size for your child as long as you know what to look for. Of course, you can also choose to tow your kids so you can go on adventures together. If that sounds like fun, check out these best bike trailers.
To sum things up, the right way to measure a
kids bike is by factoring in everything, from determining the wheel size,
measuring your child’s height and inseam, then factoring in your child’s age
and riding experience, as well as making room for growth.
That’s it! If you have any questions or comments, we’d love to hear them!
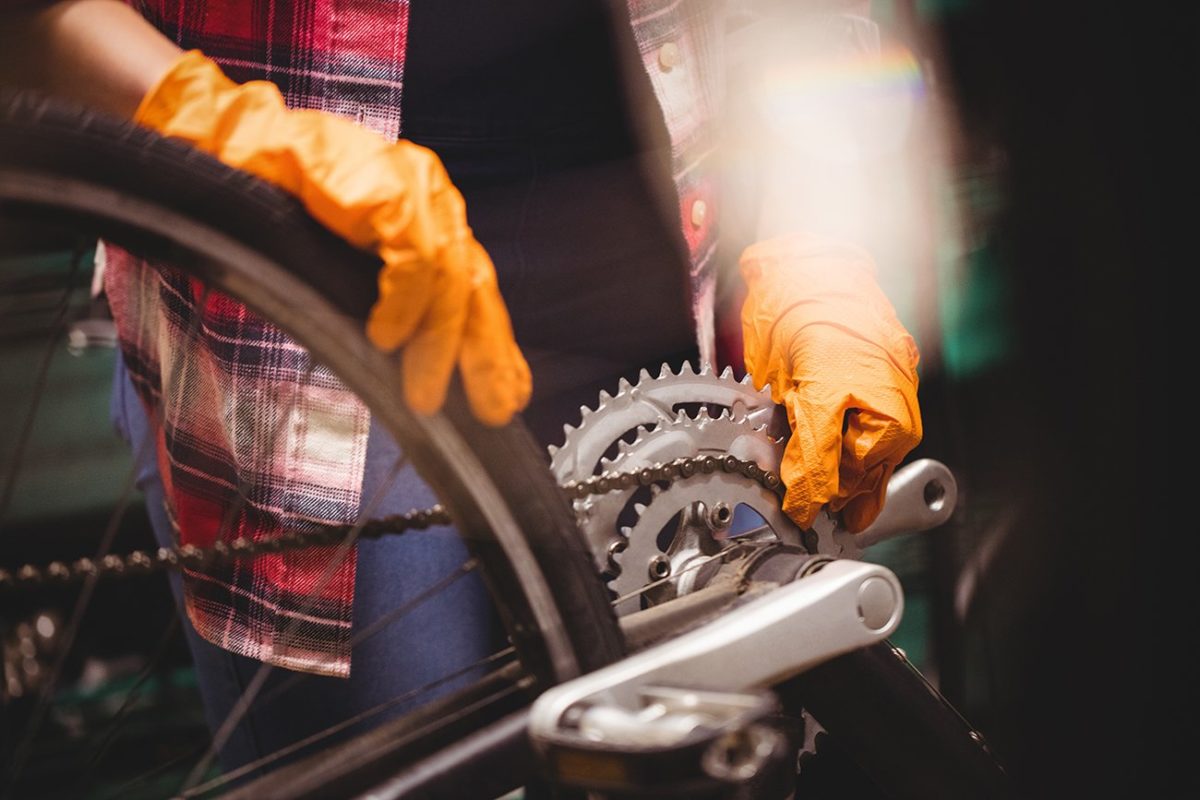
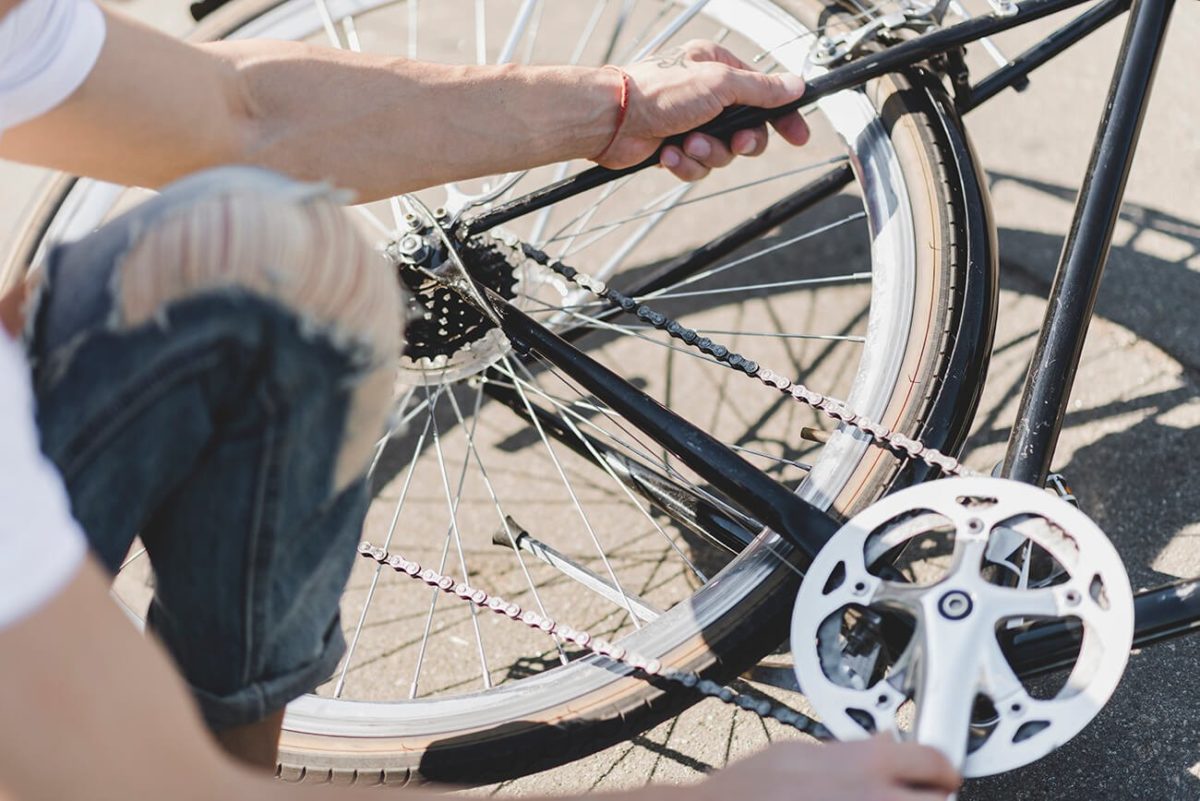
Your bike chain is always in motion, which means it gets worn out easily, or come loose while you’re cycling. There are a variety of reasons why this happens, such as heavy loads carried in your favorite bike trailer, improper adjustments, incorrect chain length, and so on. The good thing is, it’s easy to fix! As long as you’re prepared to get your hands greasy, that is.
In this article, we’ll teach you how to tighten a bike chain for both single-speed and multi-speed bikes. But first, let’s differentiate between the two:
Single-speed vs. multi-speed bike
As the name implies, single-speed bikes have only one gear setting, which makes them easy to maintain as they hold up well for much longer. On the other hand, bikes with a derailleur, or multi-speed bikes, have anywhere from 3 to 27-speed settings, which make them highly versatile and less exhausting to ride.
The downside to these bikes with derailleurs is that its very function makes it more high maintenance, especially since the bike chain wears out faster.
What you’ll need
If you have a multi-speed bike such as a mountain bike, you’ll be needing an axle nut removal tool to get your bike chain fixed and tightened. Or, if you have a derailleur bike, you’ll need a wrench that fits your derailleur screw. If you want to make the task easier, you may also opt to use a chain tensioner or a chain tightening tool.
Before you start…
First things first: before you proceed with
tightening the chain on your bike, make sure that it’s not damaged or broken in
any way. The same goes for your bike’s gears. If there’s any damage, tightening
the chain is futile, as these parts will need replacement. Moreover, thoroughly
clean the chain and gears regularly.
How to tighten a bike chain
Here’s how you can tighten the bike chain of a single-speed bike in five easy steps:
Step 1: Flip the bike
The first step is to position your bike in such a way that it stands on its handlebars and saddle. This will make things easier for you to fix the bike chain, especially if you’re working with a single-speed bike. Alternatively, you can work on your bicycle by using one of the best bike repair stands.
Step 2: Loosen the tire
Once the bike is in position, carefully loosen
the rear tire by partially unscrewing the axle nuts holding the tire in place.
You can do this with an axle nut removal tool. Once the tire is loose, you’ll
be able to work on adjusting the chain tension.
Step 3: Move the tire
Next, gently tug on the rear tire to pull it
back from the bike, which should increase the tension on the bike chain. Do
this slowly, so as to not damage or break the chain.
Step 4: Find the right tension
As you pull on the rear tire, try tugging on
the chain to test its tension. It should move a bit- no more than half an inch
in either direction. This is your ideal chain tension.
Step 5: Tighten the rear tire
Finally, fit the rear tire back into the bike
frame, and using your axle nut removal tool, tighten the axle nuts back into
place, taking care to keep the tire in position. If it comes into contact with
the bike frame or the chain, loosen the axle nuts slightly and make the
necessary adjustment to reposition the tire, before screwing the axle nuts
securely into place.
And, you’re done! Just check the chain tension
once more by tugging on it, and spin the tire to see whether it bumps into the
chain or bike frame.
How to tighten a multi-gear bike
chain
If you have a multi-speed bike, follow these three simple steps to tighten your bike chain:
Step 1: Unscrew the derailleur
screw
Before you start, stand your bike steadily in
such a way that you can easily work on the rear tire, either by flipping the
bike over, or using a bike stand. Once that’s done, locate the derailleur screw
(it’s on the back of the derailleur and marked with a “B”). Rotate this screw
clockwise to tighten the bike chain.
Take note, we are working on the rear
derailleur only, so don’t touch the front derailleur.
Step 2: Get access to the rear
wheel
The next step is to disconnect the shifter cable by releasing the brake’s quick-release levers, which should give you access to the rear wheel.
Step 3: Adjust the rear wheel
Moving on to the rear dropouts, slowly slide the axle wheel backward, working in small increments at a time and lowering the release lever each time to check whether you’ve got the ideal chain tension. Once you’re satisfied with the tension, reattach the shifter cable, make sure the levers and derailleur screws are in place, and the wheel spins smoothly.
Why does my bike chain fall off?
You may be worried that your bike chain keeps coming off, especially since you just replaced it. But, here’s the thing: both new and old bike chains are susceptible to come loose and for a variety of reasons.
New chains may not fit as perfectly on the old gears and cogs of your bike and may come off when the load is too heavy. Are you searching for a way to carry more? Check out these best bike cargo trailers. On the other hand, old chains may be stretched thin and worn out, or even completely damaged.
Other than that, sometimes, you can get a
loose chain from forceful impacts such as accidents and haphazardly letting
your bike drop onto the ground. And other times, you may simply experience your
bike chain slipping randomly.
One thing you can expect is that you’re more likely to experience bike chain skipping if you have a single-speed bike, like a road bike or a dirt bike (most modern ones are single speed). The good news is, as you’ve read on this guide, tightening your bike chain is easy!
Does the lubrication effect chain
tension?
The answer is yes and no. Technically, the
chain experiences the same tension whether or not it’s lubricated. It’s like
asking if a rock feels lighter because your hand is slick with cooking oil. The difference lies in its performance and
durability.
A well-lubricated bike chain performs better in the sense that the lubrication enables it to move easier and more efficiently, and with less effort. And, since it’s not creating friction with the gears, it doesn’t wear as quickly.
So, a lubricated bike chain makes for a better
biking experience.
Having said that, it’s important never to
lubricate a dirty chain, as this can be a cause of chain slipping, excessive
wear and tear, and chain damage. Therefore, whether you opt for dry or liquid
lubricant, clean and dry your bike chain first.
Final thoughts
A bike chain coming loose is bound to happen to all bike owners, especially if you have a single-speed bike. But as we’ve proven in this guide on how to tighten a bike chain, it’s also one of the easiest bike maintenance and repair tasks you can do on your own.
As long as you take care of your bike and all
its parts, ride it safely and inspect it at the first sign of a problem, and
follow the right steps in repairing it, your bike can last in good condition
for a really long time.
Need to replace your bike chain? You are not the only one. No matter what type of bicycle you own, a slipped, damaged, or worn-out bike chain is a common issue that all bike owners experience at least once.
Here’s the good news, putting your bike chain back on is easy, and won’t take more than a few minutes! We’ll show you how to fix a slipped bike chain, and how to replace your bike chain if you need a new one altogether. If you’d like to know how to take a chain off a bike, click here.
How to put a bike chain back on
If your bike chain slipped off its gear while you are cycling, follow these five steps on how to put a chain back on a bike. This also works for multi-speed bikes such as mountain bikes.
Step 1: Downshift
The first thing you should do is the most important, and it may even be the only solution you need. While you are still riding your bike, downshift to the lowest front gear setting using your left shifter, so the chain shifts to the largest chainring. Then, keep pedaling and see if the chain goes back into place.
Step 2: Lift the rear tire
If the first step does not work, you will need
to get off of your bike and untangle the chain so you can put it back into
place. You can do this by spinning the pedals with one hand while lifting the
rear tire with the other. See if this solves the problem. If not, proceed with
step 3.
Step 3: Release the tension
At this point, you will need to release the
chain tension by pushing the rear derailleur forward. Reposition the chain by
lifting it and placing it on the chainring, then follow step 2 again in order
to realign the chain. Keep repeating this step until the chain falls back into
place.
Step 4: Place the chain on the
small chainring
Another thing you can do if the third step
doesn’t quite work is to use the gears to your advantage. Start by threading
the chain on the smallest front chainring. This should be easy to do since the
chain is already slack because of the third step. Once that’s done, release the
rear derailleur to tighten the chain.
Step 5: Pedal forward
Finally, you can just get back on your bike,
and gently pedal forward until the chain returns to the right gear. You might
initially experience a bit of erratic shifting until the chain fully returns to
its gear. Don’t worry, this is normal.
That’s how to put a chain on a bike!
If you experience a lot of chain slippage,
your chain may be damaged, in which case you will need a bit of chain repair.
If the damage is really bad, however, it’s best to just get a replacement chain
and change the old one. If this is the case for you, read on further on how to
install a bike chain.
Replacing a bike chain
If you have a broken bike chain, or it’s worn
out and needs replacing, here’s how you can take apart the old chain and fit
the new one on your bike. The process is easy, but you will need a couple of
tools to get started.
Step 1: Gather the right tools and
the new chain
Before you start, gather all the tools you
will need, as well as the new chain, so you can have a faster and easier
workflow. The tools will depend on what kind of bike you have. Here, we will
focus on bikes with a derailleur.
First of all, you will need a chain tool (it’s
also called a removal tool, because, well, it’s used to remove a bike chain).
Also, if you are using a master link chain, then you will also need a link
remover.
Step 2: Remove the old chain
Once you have everything you will need, the
first part is to remove the old chain. You can do this by pushing out a pin
holding any two chain links together using your chain tool, then wiggling the
chain apart, before finally taking it off of your bike.
Step 3: Get the chain through the
derailleur
Once the old chain is removed, you can now
replace it with your new bike chain. But first, it’s important that you measure
it against the old chain to ensure that it’s the correct length. If the new
chain is too long, you’ll need to break the bike chain and remove a few links
in order to shorten it.
Afterward, you can place the new chain on your bike. First, feed the chain through the highest pulley called the guide pulley. Next, locate the derailleur cage, which should be between the tension and guide pulley, and thread the chain inside the derailleur cage. Finally, thread the chain over the tension pulley.
The last step is to reconnect your new chain. Simply align the two open links, fit them in the chain tool with the driving pin facing the chain link pin, then screw the pin into the link until it’s fully secure. Work slowly, and wriggle the chain every now and then to see whether the screw is too loose or too tight.
That’s it! Before you go, check to make sure
that everything is in its proper place, and work the pedals with your hand a
few times to see if the chain threads nicely. Then, just wipe and clean off the
grease, and you’re good to go!
Final thoughts
Each and every bike owner has experienced chain slippage at least once, and it can happen to you too, even if you’re riding a new bike with q new and shiny chain. But, as you’ve seen in this article, solving the problem is quick and easy!
Here are a couple of helpful reminders to keep your bike chain in top-notch condition:
Take care of your bike chain.
You know what they say. “An ounce of prevention is better than a pound of cure.” If you want to get the maximum performance from your bike chain for a long time, you need to take care of it properly. For one thing, always clean and lubricate the chain so it threads and spins nicely without too much tension and debris that can cause it to wear and slip. Also, make sure not to put too much pressure on your bike. Distribute heavyweights evenly and consider getting a good bike cargo trailer.
Check your chain thoroughly.
While fixing slipped chains is easy, you need to fully assess the condition of your bike chains to see whether there are any underlying problems that are causing the slippage. Doing so can prevent further slippage, determine whether you need to bring in your bike for repair, identify if you need new chains, and most importantly, keep you safe on the road.
Common bike chain issues include incorrect
chain length, not enough lubrication, heavy loads causing too much chain
tension, excessive wear and tear, and damage due to impact and improper use.
Know your limits, a.k.a when you can fix the issue yourself, and when you need
professional help (such as if the chain is damaged in more than one section).
Do you have kids at home? Then you know how hard it is to get anything done, much less find some time for yourself to exercise while doing something you love, like riding your bike, especially if you’re always alone with the kids.