Tips for Keeping Feet Warm
As the temperatures drop, cyclists often find themselves grappling with the challenge of keeping their feet warm. But why is this so important? Well, when your feet are cold, it can significantly impact your performance on the bike and cause a fair amount of discomfort. This can turn a leisurely ride into a hardship. But fear not, we’re here to give you some tips to keep your toes toasty.
Understanding The Body’s Response to Cold
Before we dive into the tips and tricks, let’s take a moment to understand how our bodies react to cold. It’s quite fascinating, really. When exposed to cold, our bodies instinctively prioritize keeping the core organs warm. This is vital for survival. However, this often comes at the expense of our extremities, like our hands and feet. This is why your toes might feel like icicles even when the rest of you feels reasonably warm. Cold feet can lead to numbness, discomfort, and even pain, making your cycling experience less than enjoyable.
The Role of Proper Cycling Footwear
Now that we understand why our feet get so cold, let’s talk about how to keep them warm, starting with the right footwear. When cycling in cold weather, the shoes you wear can make a world of difference. But what should you look for in a pair of cycling shoes for cold weather? Well, they should be insulated to provide warmth, waterproof to keep your feet dry, and comfortable enough for long rides. Remember, a good pair of cycling shoes is an investment in your comfort and performance.
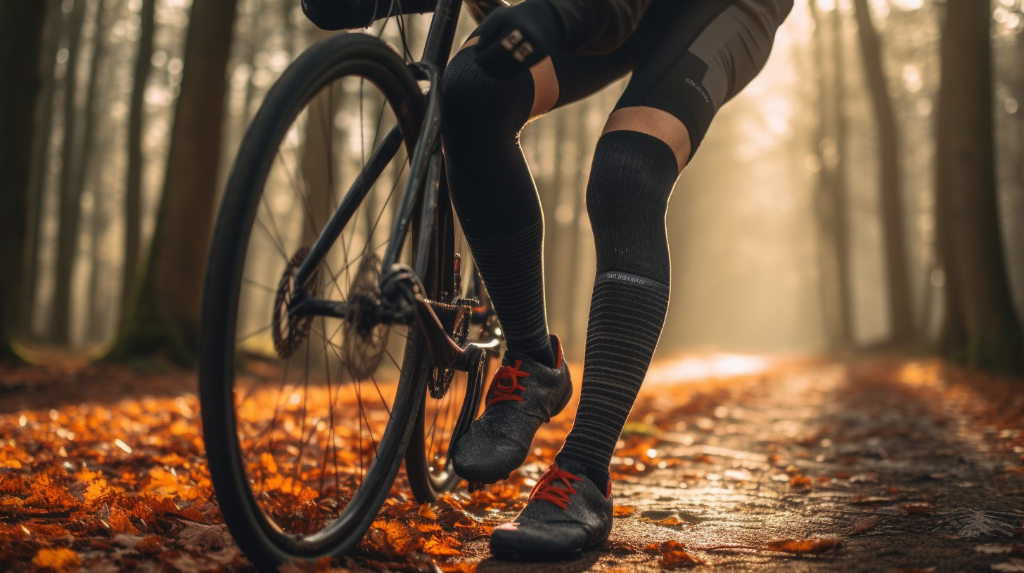
Choosing Right Socks for Warmth
Ever wondered why your feet are still cold despite wearing your thickest pair of socks? Well, the secret to warm feet isn’t just about the thickness of your socks, but more importantly, it’s about the choice of material and how you layer them. Let’s explore these aspects a bit more, shall we?
Material Matters
When it comes to socks for cycling in cold weather, the material really does matter. You might be tempted to reach for cotton socks, but hold on a second! While cotton is great for warm weather, it’s not the best for cold conditions. Why? Because cotton absorbs moisture (like sweat) and takes a long time to dry. In cold weather, this can lead to cold and damp feet – not a pleasant experience!
So, what should you wear instead? Wool is an excellent choice. It’s warm, breathable, and has great moisture-wicking properties. It can absorb a good amount of moisture without feeling wet, keeping your feet dry and warm. Alternatively, synthetic fibers like polyester and nylon are also good options. They are lightweight, dry quickly and are known for their insulation properties.
Layering for Extra Warmth
Another way to keep your feet warm is to layer your socks. Yes, you read that right. Layering isn’t just for your upper body; it works for your feet too! But remember, it’s not about piling on as many socks as you can. The key is to start with a thin, moisture-wicking sock, followed by a thicker, insulating sock. This combination helps to trap warm air close to your skin, providing an extra layer of insulation. But be careful not to make it too tight as it can restrict blood flow, which can actually make your feet colder.
The Value of Shoe Covers
Now, let’s talk about shoe covers. Imagine you’ve got your socks sorted, but you’re still feeling the chill. This could be where shoe covers come in handy. These nifty little accessories are like a protective shield for your shoes, adding an extra layer of protection against the elements.
Shoe covers, also known as overshoes, are designed to be worn over your cycling shoes. They are made from materials like neoprene, which is known for its excellent thermal and water-resistant properties. Not only do they keep your feet warm, but they also keep them dry in wet conditions. Now, isn’t that a win-win situation?
Maximizing Warmth with Warm-up Techniques
Have you ever noticed that your body feels warmer after a good workout? That’s because when you exercise, your body increases blood flow to your muscles, providing them with the oxygen and nutrients they need to perform. This same principle can be applied to cycling in cold weather. A good warm-up routine can help increase blood flow to your feet, keeping them warm and comfortable during your ride.
So, what should a good warm-up look like? It could be as simple as a brisk walk or a quick jog. You could also try some dynamic stretches or exercises that target your lower body. The key is to get your heart rate up and your blood pumping. And remember, the goal is not to exhaust yourself before your ride but to prepare your body for the ride ahead.
Additionally, a warm-up routine is beneficial for your overall cycling performance. It helps to prepare your muscles for the activity ahead, reducing the risk of injury and improving your performance. So, it’s a win-win situation!
Importance of Nutrition and Hydration
What you eat and drink can also have a significant impact on how your body regulates its temperature. Have you ever considered the role your diet plays in keeping you warm? It may seem surprising, but it’s true!
Firstly, staying well-hydrated is crucial. Dehydration can reduce your body’s ability to regulate its temperature and could leave you feeling colder. So, make sure you’re drinking enough fluids before, during, and after your ride.
Secondly, the food you eat can also play a role. Foods that are high in healthy fats, like avocados, nuts, and seeds, can help to keep you warm because fat acts as an insulator. Additionally, eating regular meals and snacks can help keep your metabolism active, which generates heat.
Of course, the importance of a balanced diet and good hydration goes beyond just temperature regulation. They are crucial for your overall health and performance as a cyclist. So make sure you’re fueling your body with the right nutrients!
Bicycle Maintenance for Winter Riding
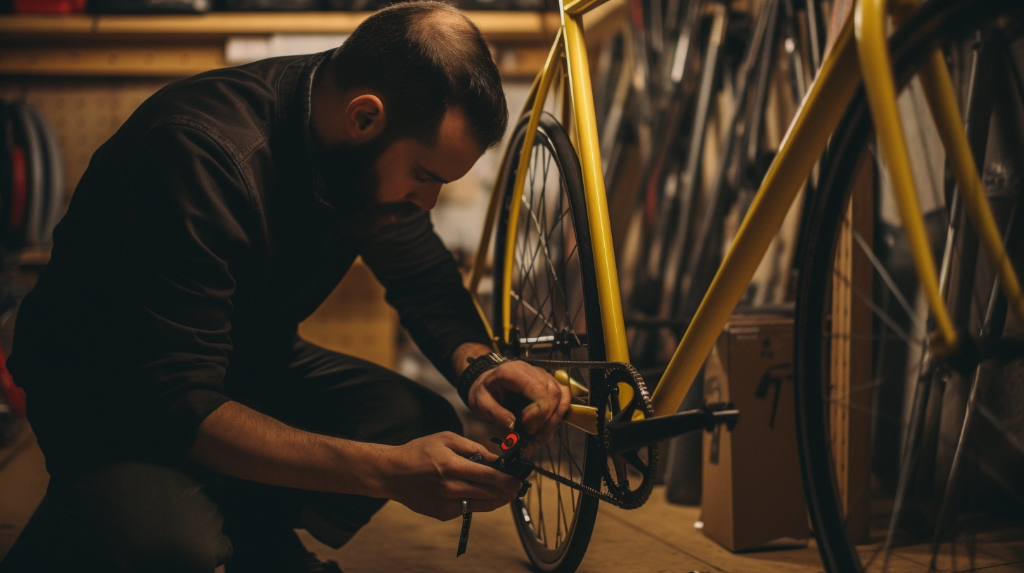
Wondering how bicycle maintenance plays a role in cold-weather comfort? Well, it’s more significant than you might think! The condition of your bike can greatly impact your overall comfort, especially when it comes to keeping your feet warm during winter rides.
Firstly, ensure your tires have sufficient tread. This provides better grip on icy and snowy surfaces, reducing the risk of slips and falls that can expose your feet to cold conditions. A well-oiled chain can also help in maintaining a smooth and efficient ride, which in turn helps in conserving energy. Conserving energy means your body can focus more on keeping you warm!
Final Reminders
Before we wrap up, let’s quickly revisit the main points from each section, shall we?
Remember, it’s crucial to understand our body’s response to cold and how it can affect our feet. Proper footwear for cycling is not just about comfort, but also about maintaining warmth. Don’t overlook the importance of the right socks, and consider shoe covers for that extra layer of protection. Warming up before you start your ride and maintaining adequate nutrition and hydration can also help keep your feet warm.
| Section | Main Points |
|---|---|
| Understanding The Body’s Response to Cold | The body prioritizes heat for the core organs, often leaving the extremities like feet colder. |
| The Role of Proper Cycling Footwear | Choose cycling shoes that provide warmth and comfort. |
| Choosing Right Socks for Warmth | Material and layering of socks can help with insulation and warmth. |
| The Value of Shoe Covers | Shoe covers add an extra layer of protection against the cold. |
| Maximizing Warmth with Warm-up Techniques | Proper warm-up before a ride can increase blood flow and keep feet warm. |
| Importance of Nutrition and Hydration | Nutrition and hydration can positively affect body temperature regulation. |
| Bicycle Maintenance for Winter Riding | Tire tread and a well-oiled chain can help with grip and energy conservation. |
- Warm cycling shoes
- Wool or synthetic fiber socks
- Shoe covers
- Warm-up routine
- Hydration and nutrition plan
- Bicycle maintenance tools
- Ignoring the importance of warm-up
- Not layering socks for extra warmth
- Overlooking the importance of proper nutrition and hydration
- Neglecting bicycle maintenance
- Not checking the weather forecast before setting out