How To Put A Bike Chain Back On
Need to replace your bike chain? You are not the only one. No matter what type of bicycle you own, a slipped, damaged, or worn-out bike chain is a common issue that all bike owners experience at least once.
Here’s the good news, putting your bike chain back on is easy, and won’t take more than a few minutes! We’ll show you how to fix a slipped bike chain, and how to replace your bike chain if you need a new one altogether. If you’d like to know how to take a chain off a bike, click here.
Contents
How to put a bike chain back on
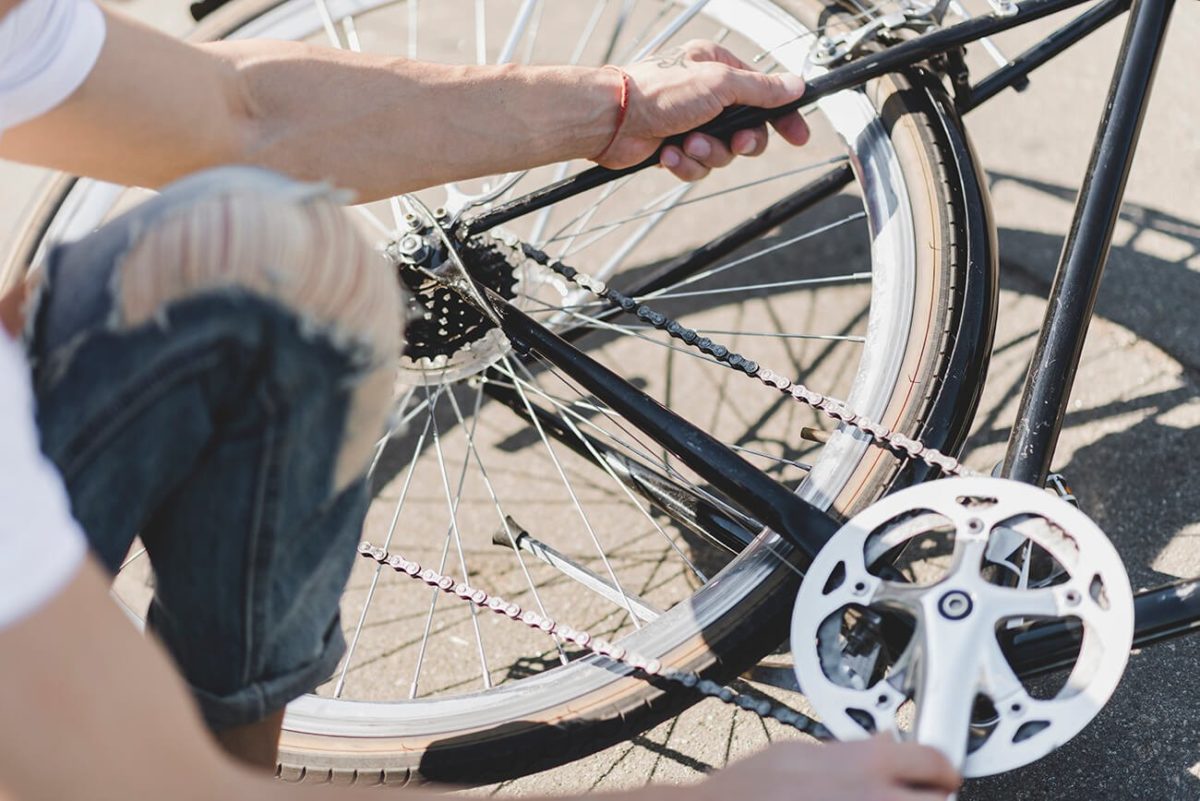
If your bike chain slipped off its gear while you are cycling, follow these five steps on how to put a chain back on a bike. This also works for multi-speed bikes such as mountain bikes.
Step 1: Downshift
The first thing you should do is the most important, and it may even be the only solution you need. While you are still riding your bike, downshift to the lowest front gear setting using your left shifter, so the chain shifts to the largest chainring. Then, keep pedaling and see if the chain goes back into place.
Step 2: Lift the rear tire
If the first step does not work, you will need to get off of your bike and untangle the chain so you can put it back into place. You can do this by spinning the pedals with one hand while lifting the rear tire with the other. See if this solves the problem. If not, proceed with step 3.
Step 3: Release the tension
At this point, you will need to release the chain tension by pushing the rear derailleur forward. Reposition the chain by lifting it and placing it on the chainring, then follow step 2 again in order to realign the chain. Keep repeating this step until the chain falls back into place.

Step 4: Place the chain on the small chainring
Another thing you can do if the third step doesn’t quite work is to use the gears to your advantage. Start by threading the chain on the smallest front chainring. This should be easy to do since the chain is already slack because of the third step. Once that’s done, release the rear derailleur to tighten the chain.
Step 5: Pedal forward
Finally, you can just get back on your bike, and gently pedal forward until the chain returns to the right gear. You might initially experience a bit of erratic shifting until the chain fully returns to its gear. Don’t worry, this is normal.
That’s how to put a chain on a bike!
If you experience a lot of chain slippage, your chain may be damaged, in which case you will need a bit of chain repair. If the damage is really bad, however, it’s best to just get a replacement chain and change the old one. If this is the case for you, read on further on how to install a bike chain.
Replacing a bike chain
If you have a broken bike chain, or it’s worn out and needs replacing, here’s how you can take apart the old chain and fit the new one on your bike. The process is easy, but you will need a couple of tools to get started.
Step 1: Gather the right tools and the new chain
Before you start, gather all the tools you will need, as well as the new chain, so you can have a faster and easier workflow. The tools will depend on what kind of bike you have. Here, we will focus on bikes with a derailleur.
First of all, you will need a chain tool (it’s also called a removal tool, because, well, it’s used to remove a bike chain). Also, if you are using a master link chain, then you will also need a link remover.
Step 2: Remove the old chain
Once you have everything you will need, the first part is to remove the old chain. You can do this by pushing out a pin holding any two chain links together using your chain tool, then wiggling the chain apart, before finally taking it off of your bike.

Step 3: Get the chain through the derailleur
Once the old chain is removed, you can now replace it with your new bike chain. But first, it’s important that you measure it against the old chain to ensure that it’s the correct length. If the new chain is too long, you’ll need to break the bike chain and remove a few links in order to shorten it.
Afterward, you can place the new chain on your bike. First, feed the chain through the highest pulley called the guide pulley. Next, locate the derailleur cage, which should be between the tension and guide pulley, and thread the chain inside the derailleur cage. Finally, thread the chain over the tension pulley.
The last step is to reconnect your new chain. Simply align the two open links, fit them in the chain tool with the driving pin facing the chain link pin, then screw the pin into the link until it’s fully secure. Work slowly, and wriggle the chain every now and then to see whether the screw is too loose or too tight.
That’s it! Before you go, check to make sure that everything is in its proper place, and work the pedals with your hand a few times to see if the chain threads nicely. Then, just wipe and clean off the grease, and you’re good to go!
Final thoughts
Each and every bike owner has experienced chain slippage at least once, and it can happen to you too, even if you’re riding a new bike with q new and shiny chain. But, as you’ve seen in this article, solving the problem is quick and easy!
Here are a couple of helpful reminders to keep your bike chain in top-notch condition:
Take care of your bike chain.
You know what they say. “An ounce of prevention is better than a pound of cure.” If you want to get the maximum performance from your bike chain for a long time, you need to take care of it properly. For one thing, always clean and lubricate the chain so it threads and spins nicely without too much tension and debris that can cause it to wear and slip. Also, make sure not to put too much pressure on your bike. Distribute heavyweights evenly and consider getting a good bike cargo trailer.
Check your chain thoroughly.
While fixing slipped chains is easy, you need to fully assess the condition of your bike chains to see whether there are any underlying problems that are causing the slippage. Doing so can prevent further slippage, determine whether you need to bring in your bike for repair, identify if you need new chains, and most importantly, keep you safe on the road.
Common bike chain issues include incorrect chain length, not enough lubrication, heavy loads causing too much chain tension, excessive wear and tear, and damage due to impact and improper use. Know your limits, a.k.a when you can fix the issue yourself, and when you need professional help (such as if the chain is damaged in more than one section).