How to Find Time for Cycling

Are you a budding cycling enthusiast struggling to squeeze in time for riding amidst your busy schedule? Many beginners face the same challenge. But here’s the good news – with a little planning and creativity, you can turn cycling from an occasional hobby into a regular routine. Not only is cycling a fun, exhilarating activity, it’s also a fantastic way to keep fit and maintain your health.
Think about it. Wouldn’t it be great to combine your fitness goals with an activity you love? Let’s delve into this more and discover how you can make time for cycling.
The Benefits of Incorporating Cycling into Your Routine
Before we delve into the ‘how,’ let’s understand the ‘why.’ Cycling offers a myriad of benefits that go beyond physical fitness. Firstly, it’s a great way to improve your cardiovascular health. Regular cycling strengthens your heart muscles and reduces the risk of cardiovascular diseases. Secondly, it’s a mood booster. The rush of endorphins you get from a good ride can uplift your spirits and keep stress at bay. Thirdly, it’s a stamina builder. With consistent cycling, you’ll notice an increase in your endurance and overall energy levels. And finally, it’s environment-friendly. Cycling instead of driving can significantly reduce your carbon footprint. So, why wouldn’t you want to make more time for cycling?
Understanding Your Current Time Allocation
Now that we’ve established the ‘why,’ let’s move on to the ‘how.’ The first step is to understand how you’re currently spending your time. Do you know how many hours a day you spend on work, leisure, chores, or idle activities? If not, it’s time to find out. Spend a week maintaining a log of your daily activities. This will give you a clear picture of where your time is going and where you can carve out some time for cycling.
Remember, the aim is not to add more stress to your life by trying to fit in cycling. It’s about rearranging your schedule in a way that allows you to enjoy this beneficial activity without feeling overwhelmed. And that’s perfectly doable with a little bit of planning and self-awareness. Are you ready to take the first step towards a healthier, happier you?
Strategies to Make Time for Cycling
Ever wondered how you can sneak cycling into your jam-packed schedule? Don’t worry, you’re not alone. Let’s look at some strategies that can help you incorporate this healthy habit into your daily routine.
Start Small and Gradually Increase Your Cycling Time
Remember, Rome wasn’t built in a day. The same applies to your cycling routine. It’s not about instantly transforming your schedule to accommodate hours of cycling. It’s about starting small and gradually increasing your cycling time.
How about a quick 15-minute ride around the block after dinner? Or a short bike ride to the local store instead of driving? These small steps can significantly reduce the feeling of being overwhelmed with a new routine. Once you’re comfortable with these short rides, you can gradually increase your cycling time.
Turn Commute Time into Cycling Time
Have you considered cycling to work or school? It’s a fantastic way to transform commute time into cycling time. Not only does it give you a daily dose of exercise, but it also helps you avoid traffic and parking hassles. Plus, it’s an excellent way to start your day energized and refreshed.
Of course, this may not be feasible for everyone. But even if you can do it a couple of days a week, it’s a win-win situation. Imagine the amount of time you’d save that you would otherwise spend at the gym!
Making Cycling a Fun Activity
Remember, the key to sticking to any routine is to enjoy it. When you enjoy something, you’re more likely to make time for it. So, how can you make cycling more enjoyable?
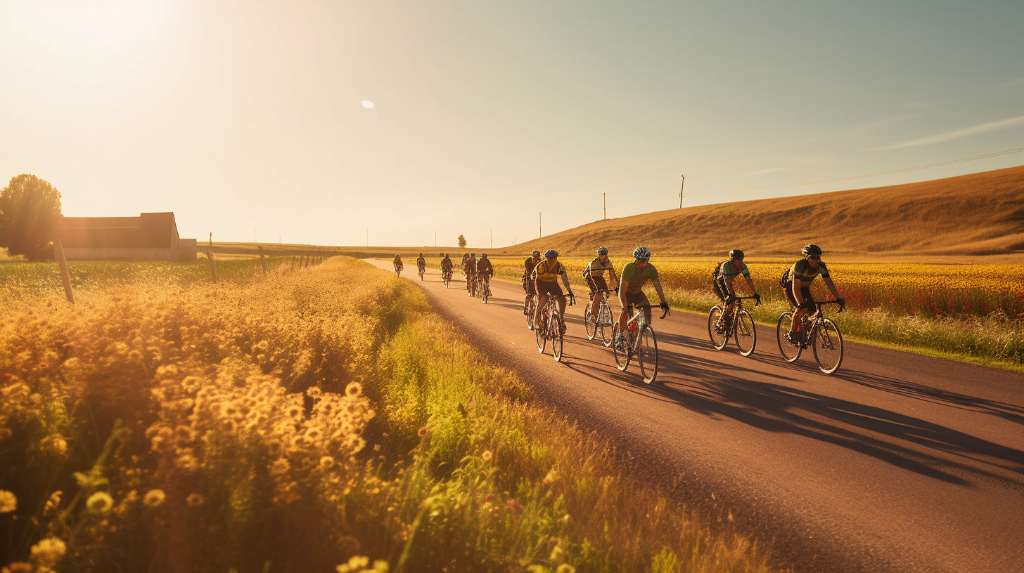
One way is to cycle with friends or family. It’s a great way to catch up, spend quality time together, and stay fit. Plus, a bit of friendly competition never hurts!
Another way is to explore new routes. Who knows, you might discover a beautiful park or a quiet street you never knew existed. Or how about setting personal goals? Challenge yourself to cycle a little further or faster each week. Celebrating these small victories can make cycling more exciting and rewarding.
Practical Tips to Free Up Time for Cycling
Life can get busy, and sometimes it feels like there just aren’t enough hours in the day. But what if we told you that with a few small changes, you could easily free up time for cycling? Sounds interesting, doesn’t it?
One of the simplest ways to find more time is by waking up a bit earlier. An early morning ride is a great way to start your day, and the peaceful quiet of the morning can make your ride even more enjoyable. Plus, you’ll have accomplished something great before most people have even started their day.
Another strategy is to cut back on screen time. It’s easy to lose track of time while scrolling through social media or watching TV. By setting limits on these activities, you’ll be surprised at how much extra time you’ll find in your day.
Finally, consider delegating tasks when possible. Whether it’s at home or at work, if there are tasks that someone else can handle, don’t be afraid to ask for help. This will free up your time and energy for more important things, like cycling.
- Wake up earlier
- Reduce screen time
- Delegate tasks
Balancing Cycling with Other Responsibilities
It’s important to remember that while cycling is a fantastic hobby and a great way to stay fit, it’s also essential to balance it with the other responsibilities in your life. But how can you do this effectively?
Effective time management is the key. By setting clear priorities and organizing your time efficiently, you can ensure that you’re able to dedicate time to cycling without neglecting your other responsibilities. Whether it’s work, family, or other hobbies, with a bit of planning, you can make time for everything that’s important to you.
Creating a Cycling Schedule and Sticking to It
One of the best ways to ensure you consistently find time for cycling is by creating a schedule. Having a clear plan of when you’ll be cycling each week can make it easier to stick to your routine and avoid last-minute conflicts or distractions.
When creating your schedule, be realistic. If you’re not a morning person, don’t schedule your rides for the early morning. Instead, find a time that works best for you and stick to it. Consistency is key when it comes to building a new habit.
Lastly, remember that it’s okay to be flexible. Life happens, and sometimes you may need to adjust your schedule. The important thing is to get back on track as soon as you can. After all, the road is always there, waiting for you to ride.
| Day | Time | Duration |
|---|---|---|
| Monday | 6:30 AM | 30 minutes |
| Wednesday | 7:00 AM | 45 minutes |
| Friday | 7:00 AM | 45 minutes |
| Sunday | 8:00 AM | 1 hour |
Overcoming Common Obstacles
Now, let’s address some of the common obstacles that might be standing between you and your cycling routine. Sound familiar?
One of the most common issues is bad weather. Rain, snow, or extreme heat can certainly put a damper on your cycling plans. But remember, there’s always a solution to every problem. You could invest in appropriate gear for different weather conditions or explore indoor cycling during inclement weather. Don’t let the weather keep you off your bike!
Lack of motivation is another hurdle faced by many. How do you overcome this? Start by setting realistic and achievable goals. Having something to work towards can boost your motivation levels. You could also find a cycling buddy. Having someone to share the ride with makes the journey more enjoyable and could be just the motivation you need to get started.
How Technology can Help
Did you know that technology can be a great ally in your cycling journey? Yes, it’s true!
There are numerous cycling apps available that can help you plan your routes, track your progress, and even compete with others. These apps can turn your cycling routine into a fun and engaging activity. Some popular options include Strava, Map My Ride, and Cyclemeter.
Smartwatches are another piece of tech that can aid your cycling routine. These devices can track your heart rate, distance traveled, and calories burned. They can also provide GPS navigation and weather updates. This real-time data can help you monitor your performance and make necessary adjustments to your cycling routine.
Conclusion
And there you have it. Finding time for cycling may seem challenging, but with a little planning, creativity, and the right resources, it’s absolutely achievable. Remember, every minute you spend on your bike is a step towards a healthier, happier you.
So why wait? Now is the perfect time to make cycling a regular part of your routine. Whether it’s a ride around the neighborhood or a long-distance journey, every ride counts. Ready to pedal your way to better health?