How To Remove A Bike Chain – A Beginner’s Guide
This post contains affiliate links. For more information, visit my disclosure page.
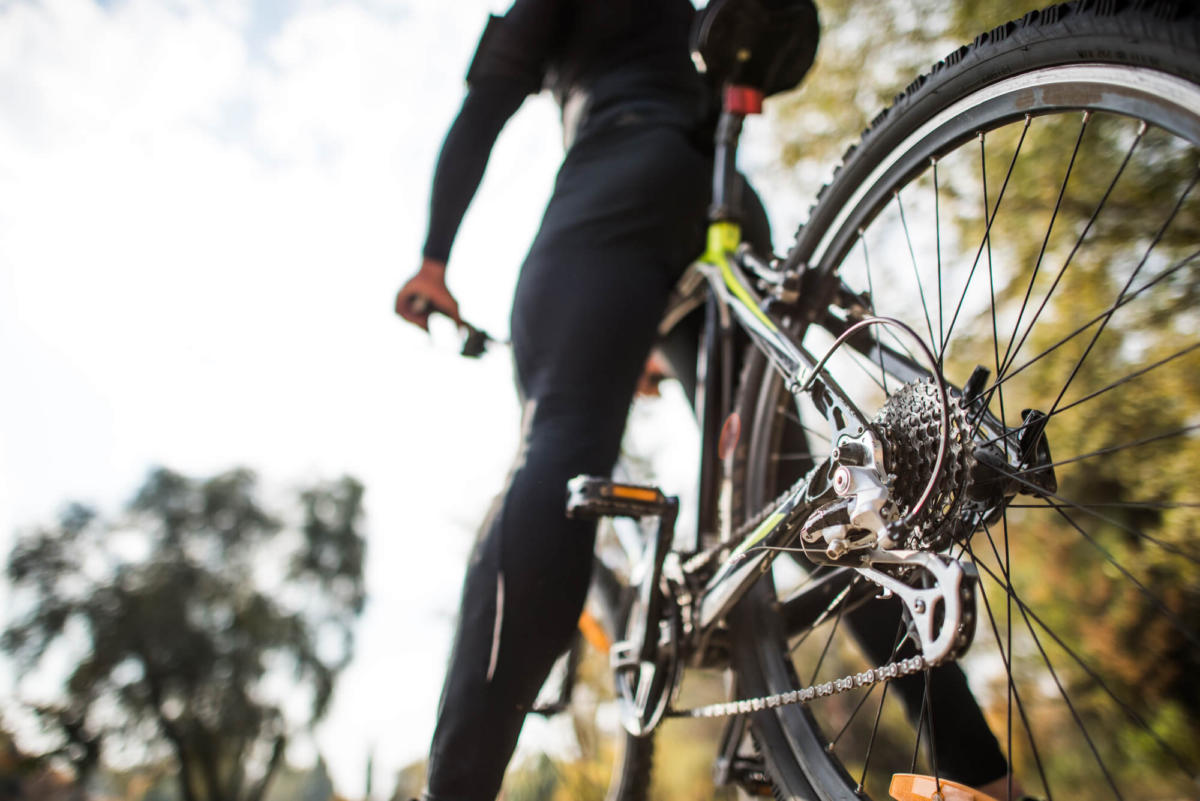
If you know how to ride a bike, you should also have some knowledge of bicycle care 101, especially since certain bike parts can jam, break, or get worn out over time. In fact, aside from the tires, the bike chain is the fastest to wear out since it plays a very active role when cycling.
Therefore, it goes to say that you, as a bicycle owner, should know how to remove a bike chain among other basic bike maintenance. If you don’t, well, there’s no need to worry. We’re here to guide you on replacing bike chains properly.
Read on further to find out the three simple steps to fix your bike chain. These work great for mountain bike chains and road bike chains.
Contents
Bike Tools Needed
- Chain tool– also called chain splitter or chain breaker, this is a small device with a rotating handle used to push out the rivets or pins holding the links and plates together.
- Master link pliers– these are special pliers specially designed to fit the grooves of a bike chain link (you may use needle nose pliers as an alternative).

How To Remove A Bike Chain
Here are three easy steps to repair your bicycle chain by “breaking” the chain, determining the chain length, and installing the replacement bike chain.
Step 1: Break The Chain
First, let’s talk about how to take a bike chain off of your bike so you can repair it properly. How you can achieve this depends on the type of chain on your bike, a.k.a. Whether it’s a regular chain, which is what most common bikes have, or a master link chain, which is what’s used on modern bikes with several speed options.
A. With A Master Link
Look for the master link on the chain- this should be easily recognizable as it looks different from the other pins, whether by color, pin size, or an arrow sign. Position the master link pliers so that the master link is in between the jaws of the pliers, then grip the master link by squeezing the pliers handle.
This should make it easy to remove the master link from the rest of the chain, after which, you can take the chain off of your bike by taking it off the sprockets and lifting it off.
B. Without A Master Link
Slide the bike chain in between the two prongs on your chain tool in such a way that a link is securely in between the chain tool’s two prongs, and its pin aligned with the link’s center. Rotate the handle clockwise until the pin pushes out the rivet almost completely, making sure that the chain link and chain tool are perfectly aligned the whole time.
Afterwards, remove the chain from the chain tool by turning the handle counterclockwise. Then, carefully wiggle the chain until the link comes apart. At this point, you can now remove the chain from your bike.
Step 2: Determine Chain Length
You may be thinking, now it’s time to install the new chain. But, before we talk about how to replace a bike chain, you need to make sure that it’s the right size and length. You can do this by sizing the new chain against the old one, if the old chain is the correct size for your bike.
Otherwise, you can follow these simple steps for chain sizing and chain repair:
- Adjust the derailleur to the largest chainring for the front, and the smallest for the rear.
- Wrap the new chain around the largest rear chainring. If the chain has an outer plate, route it towards the front chainring.
- Extend the chain all the way through the largest front chainring, passing through the front derailleur cage.
- Hold the chain at the 5 o’clock position, and pull the chain strug’s lower section toward the front chainring while bypassing the derailleur.
This gives you the right chain size, which is two links past the closest rivet where the chain ends can be joined together. Now, when it comes to how to shorten a bike chain, simply follow the steps to remove a link from a bike chain that we talked about earlier, only this time, you need to break the chain at two points in order to remove the links.

Step 3: Install The New Bike Chain
At last, it’s time to discuss how to put a chain back on- more specifically, your replacement bike chain. It’s simple, really. If you haven’t done the four steps we mentioned to size your chain (such as if you used a different method), now is the time to do them.
If it appears that your chain is already the correct size, then you’re done! Otherwise, you can reconnect your shortened chain by:
- Pushing the rivet of one end link to the hole of the other end link using your chain tool (for regular chains), or
- Attaching the rivets of the end links and using your master link pliers to lock the master link in place.
Finally, just run the new chain through all the different gears to make sure that it works and functions properly, and you’re good to go.
What’s Next?
Now that you know how to remove a bike chain, as well as size, shorten, and reinstall it on your bicycle, the next step really is to take good care of your bike chain, and all the other bike parts. Practicing proper and regular maintenance is key to ensuring that your bike chain works the way it’s supposed to and lasts for as long as possible in good condition.
Before you go, remember to ride your bike properly to avoid chinks, kinks, and broken chains, and cean and oil your chain regularly to keep it from getting rusty.
That’s it! We hope this article answered all of your questions on removing bike chains. If you have any other questions or comments, let us know down below!